Image Processor
Treepl CMS utilises the ImageProcessingModule which allows you to perform image manipulations (such as resizing, cropping, quality/compression, filters, etc.) simply by adding URL query string parameters to your image source paths.
Each manipulation method and its relevant options are listed below, along with examples.
Many of these methods can be combined to create more complex image manipulations.
However, you may need to experiment with the order of the methods applied in your query string. For example; a contrast effect will only work with a filter type if it comes first in the query string, ie: /your-image.jpg?contrast=35&filter=blackwhite.
Likewise, some methods will have different combined results based on their order in your query string, ie: /your-image.jpg?blur=35&filter=blackwhite has a different result to /your-image.jpg?filter=blackwhite&blur=35.
Spacial Manipulations
Resize Mode: Crop (default)
Resizes the original image to the given width and/or height.
Passing a single dimension will automatically preserve the aspect ratio of the original image. If the set dimensions do not match the aspect ratio of the original image then the output is cropped to match the new aspect ratio.
Images will be upscaled from the original if the requested size is larger than the original dimensions.
Crop mode also offers optional anchor positions which determine the origin point in which to resize the image from:
center(default)toprightbottomlefttoplefttoprightbottomleftbottomright
<img src="/your-image.jpg?width=[px]&height=[px]&mode=crop&anchor=[POSITION]">
<!--Automatic height based on width-->
<img src="/your-image.jpg?width=600">

<!--Automatic width based on height-->
<img src="/your-image.jpg?height=250">

<!--Both dimensions specified-->
<img src="/your-image.jpg?width=600&height=250">

<!--Both dimensions specified with the image anchored to the top-->
<img src="/your-image.jpg?width=600&height=250&anchor=top">
Since crop is the default resizing mode it does not need to be explicitly set in your query string.
Samples
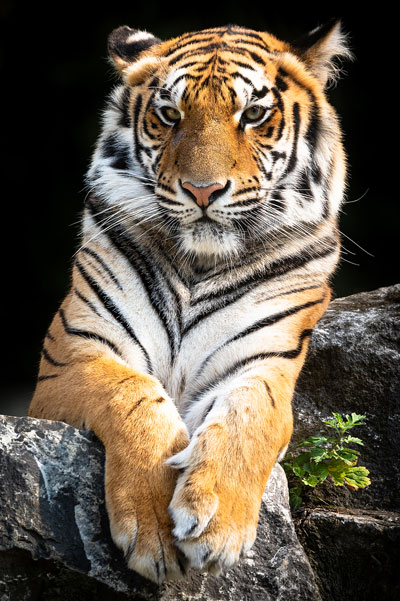
width=600height=460anchor=top
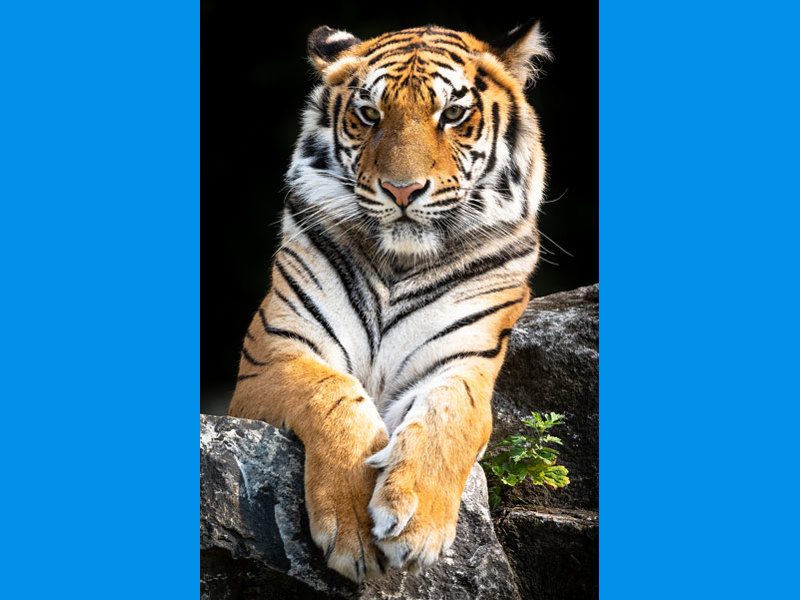
Resize Mode: Pad
Resizes the original image to the given width and/or height and adding padding while upscaling the original if needed.
Passing a single dimension will automatically preserve the aspect ratio of the original image. If the requested aspect ratio is different then the original, then the image will be padded to fit.
Images will be upscaled from the original if the requested size is larger than the original dimensions.
Pad mode also offers optional anchor positions which determine the origin point in which to resize the image from:
center(default)toprightbottomlefttoplefttoprightbottomleftbottomright
You can also recolour the background color of the padded area (from the default black) for image types without transparency. Transparent image formats will use transparency in the padded area.
<img src="/your-image.jpg?width=[px]&height=[px]&mode=pad&anchor=[POSITION]&bgcolor=[COLOR]">
<!--Automatic height based on width-->
<img src="/your-image.jpg?width=600&mode=pad">

<!--Automatic width based on height-->
<img src="/your-image.jpg?height=250&mode=pad">

<!--Both dimensions specified-->
<img src="/your-image.jpg?width=600&height=250&mode=pad">

<!--Both dimensions specified with the image anchored to the top-->
<img src="/your-image.jpg?width=600&height=250&mode=pad&anchor=top">

<!--Background color added to padded image-->
<img src="/your-image.jpg?width=600&height=250&mode=pad&bgcolor=fff">
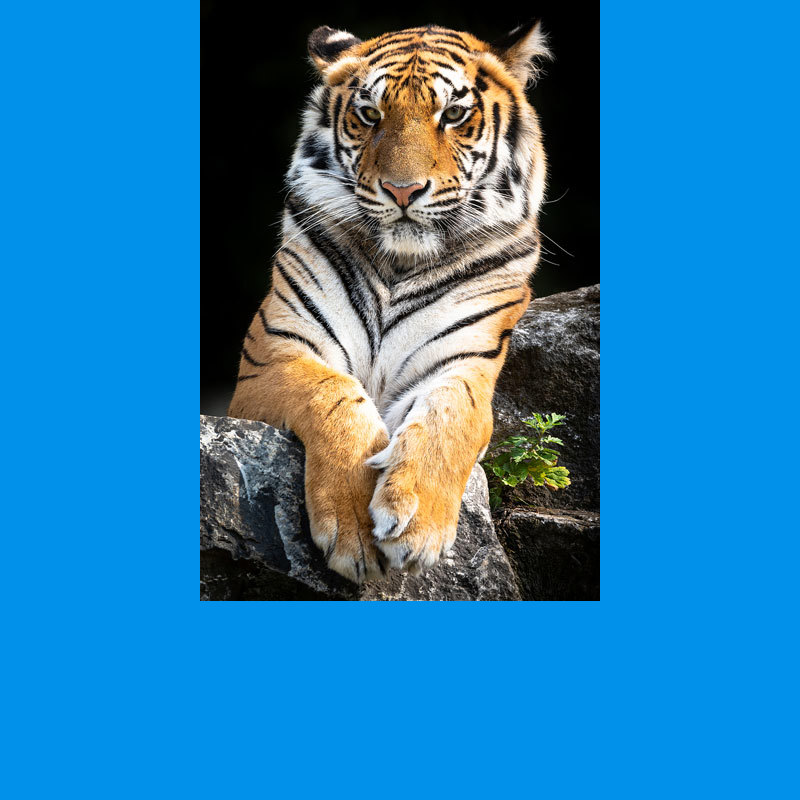
Samples

mode=padwidth=800height=600anchor=topbgcolor=0091EA
Resize Mode: BoxPad
Resizes the original image to the given width and/or height and adding padding without upscaling the original.
Passing a single dimension will automatically preserve the aspect ratio of the original image. If the requested aspect ratio is different then the original, then the image will be padded to fit.
Images will not be upscaled from the original if the requested size is larger than the original dimensions. While the requested dimensions are smaller than the original image, this method will behave the same as the Pad mode.
BoxPad mode also offers optional anchor positions which determine the origin point in which to resize the image from:
center(default)toprightbottomlefttoplefttoprightbottomleftbottomright
You can also recolour the background color of the padded area (from the default black) for image types without transparency. Transparent image formats will use transparency in the padded area.
<img src="/your-image.jpg?width=[px]&height=[px]&mode=boxpad&anchor=[POSITION]&bgcolor=[COLOR]">
<!--Automatic height based on width-->
<img src="/your-image.jpg?width=600&mode=boxpad">

<!--Automatic width based on height-->
<img src="/your-image.jpg?height=250&mode=boxpad">

<!--Both dimensions specified-->
<img src="/your-image.jpg?width=600&height=250&mode=boxpad">

<!--Both dimensions specified with the image anchored to the top-->
<img src="/your-image.jpg?width=600&height=250&mode=boxpad&anchor=top">

<!--Background color added to padded image-->
<img src="/your-image.jpg?width=600&height=250&mode=boxpad&bgcolor=fff">
Samples
mode=boxpadwidth=800height=800anchor=topbgcolor=0091EA
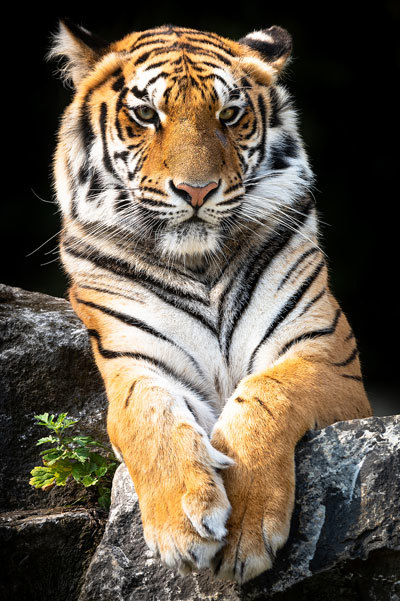
Resize Mode: Min
Resizes the original image until the shortest side reaches the given width and/or height and no added padding without upscaling the original.
This will maintain the aspect ratio of the original image without upscaling. The original image will simply be returned if the requested dimensions exceed the original image.
<img src="/your-image.jpg?width=[px]&height=[px]&mode=min">
<!--Automatic height based on width-->
<img src="/your-image.jpg?width=600&mode=min">

<!--Automatic width based on height-->
<img src="/your-image.jpg?height=250&mode=min">

<!--Both dimensions specified-->
<img src="/your-image.jpg?width=600&height=250&mode=min">
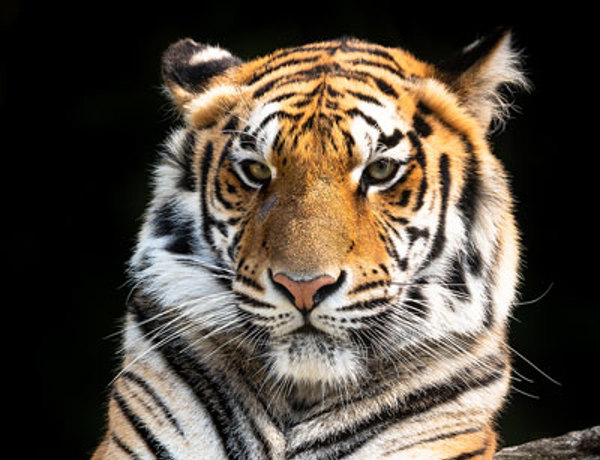
Samples

mode=minwidth=300height=300
Resize Mode: Max
Resizes the original image until the longest side reaches the maximum width and/or height and no added padding with upscaling the original.
This will maintain the aspect ratio of the original image and upscale where needed.
<img src="/your-image.jpg?width=[px]&height=[px]&mode=max">
<!--Automatic height based on width-->
<img src="/your-image.jpg?width=600&mode=max">

<!--Automatic width based on height-->
<img src="/your-image.jpg?height=250&mode=max">

<!--Both dimensions specified-->
<img src="/your-image.jpg?width=600&height=250&mode=max">
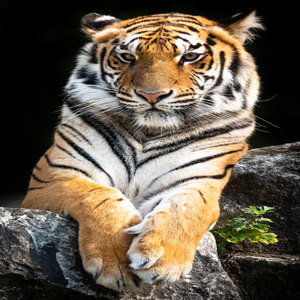
Samples

mode=maxwidth=300height=300
Resize Mode: Stretch
Resizes the original image to match the given width and height and no added padding with upscaling the original.
If the set dimensions do not match the aspect ratio of the original image then the output is stretched to match the new aspect ratio.
<img src="/your-image.jpg?width=[px]&height=[px]&mode=stretch">
<!--Automatic height based on width-->
<img src="/your-image.jpg?width=600&mode=stretch">

<!--Automatic width based on height-->
<img src="/your-image.jpg?height=250&mode=stretch">

<!--Both dimensions specified-->
<img src="/your-image.jpg?width=600&height=250&mode=stretch">
Samples
mode=stretchwidth=300height=300
Rotate
Rotates the original image to a the given angle without clipping.
<img src="/your-image.jpg?rotate=[ANGLE]">
<!--Positive angle-->
<img src="/your-image.jpg?rotate=30">

<!--Negative angle-->
<img src="/your-image.jpg?rotate=-80">

<!--Angle with background color-->
<img src="/your-image.jpg?rotate=45&bgcolor=0091EA">
Samples
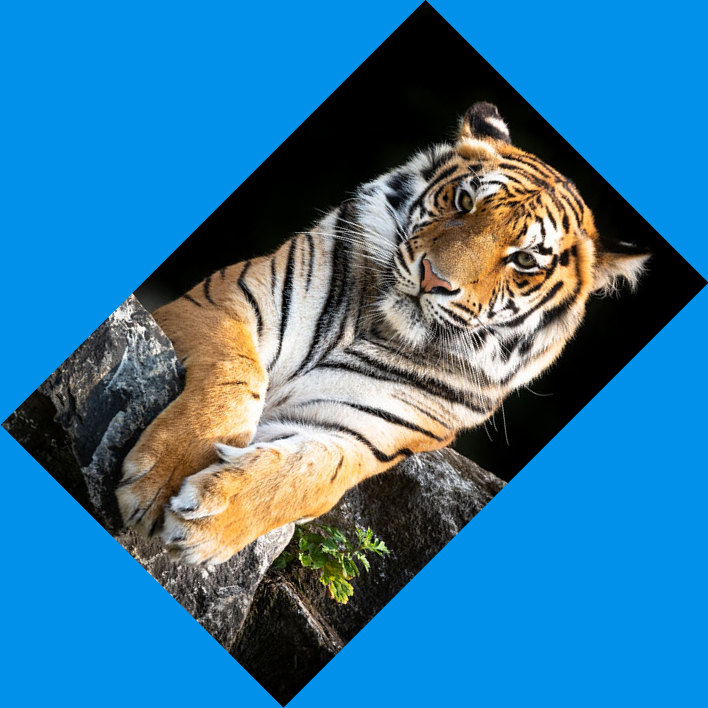
rotate=45bgcolor=0091EA
Crop
Crops the original image to the given location and size.
Location values are offsets given in x,y co-ordinates (from the top left) in pixels to start the cropping (based on the original image dimensions).
Size is given in width and height values in pixels to determine the size of the crop section (and resulting output image size).
If the total width (including any x offset) or total height (including any y offset) is larger then the original image, a broken image reference will be rendered.
<img src="/your-image.jpg?crop=[x],[y],[WIDTH],[HEIGHT]">
<img src="/your-image.jpg?crop=100,50,300,180">
Samples
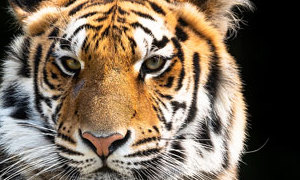
crop=100,50,300,180ie: start 100px across and 50px down, then crop a section of the original image 300px wide by 180px high.
Flip
Flips the original image either horizontal, vertical, or both.
<img src="/your-image.jpg?flip=[ORIENTATION]">
<!--Horizontal-->
<img src="/your-image.jpg?flip=horizontal">

<!--Vertical-->
<img src="/your-image.jpg?flip=vertical">

<!--Both-->
<img src="/your-image.jpg?flip=both">
Samples
flip=horizontal
Effects
BackgroundColor
Changes the color of padded space added to an output image when the image size/ratio does not fit the requested dimensions (when using one of the ImageProcessor resize methods).
This method typically applies to image formats that don't include an alpha (transparent) channel. However, it can also be used to set a background color in place of the transparency of processed images that do include an alpha channel.
<img src="/your-image.jpg?bgcolor=[COLOR]">
<!--Hex color-->
<img src="/your-image.jpg?bgcolor=800080">

<!--RGB color-->
<img src="/your-image.jpg?bgcolor=128,0,128">

<!--RGBA color-->
<img src="/your-image.jpg?bgcolor=128,0,128,255">

<!--HTML named color-->
<img src="/your-image.jpg?bgcolor=purple">
When using the RGBA color format, the alpha value is a range from 0 (transparent) to 255 (opaque). This color format only works for image formats that support alpha transparency channels.
Samples
mode=padwidth=800height=600bgcolor=0091EA
Brightness
Adjusts the brightness of the original image based on a given percentage value. A positive value increases brightness while a negative value decreases brightness.
<img src="/your-image.jpg?brightness=[PERCENTAGE]">
<!--Increase brightness-->
<img src="/your-image.jpg?brightness=35">

<!--Decrease brightness-->
<img src="/your-image.jpg?brightness=-35">
Samples
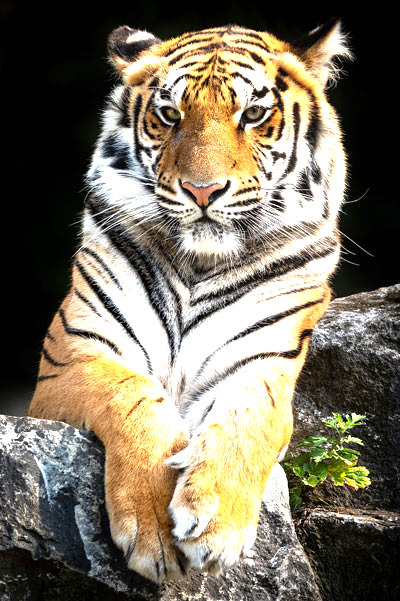
brightness=35
Contrast
Adjusts the contrast of the original image based on a given percentage value. A positive value increases contrast while a negative value decreases contrast.
<img src="/your-image.jpg?contrast=[PERCENTAGE]">
<!--Increase contrast-->
<img src="/your-image.jpg?contrast=35">

<!--Decrease contrast-->
<img src="/your-image.jpg?contrast=-35">
Samples
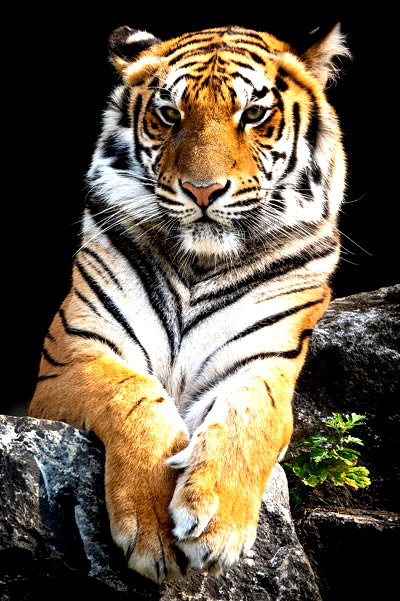
contrast=35
Saturation
Adjusts the saturation of the original image based on a given percentage value. A positive value increases saturation while a negative value decreases saturation.
<img src="/your-image.jpg?saturation=[PERCENTAGE]">
<!--Increase saturation-->
<img src="/your-image.jpg?saturation=45">

<!--Decrease saturation-->
<img src="/your-image.jpg?saturation=-45">
Samples

saturation=45
Filter
Applies a pre-made filter type to the original image.
Available filter types are:
blackwhitegreyscalehisatchinvertlomographpolaroidsepia
<img src="/your-image.jpg?filter=[TYPE]">
<img src="/your-image.jpg?filter=blackwhite">
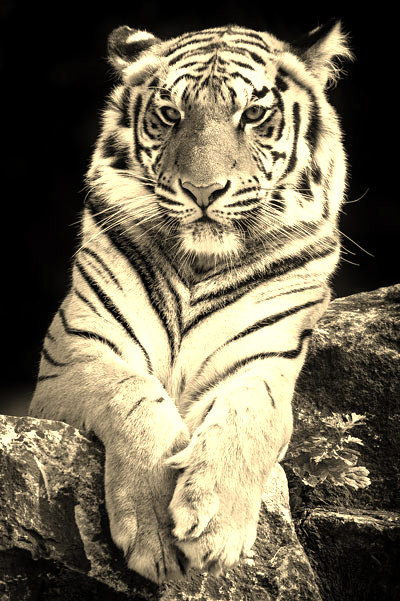
Samples
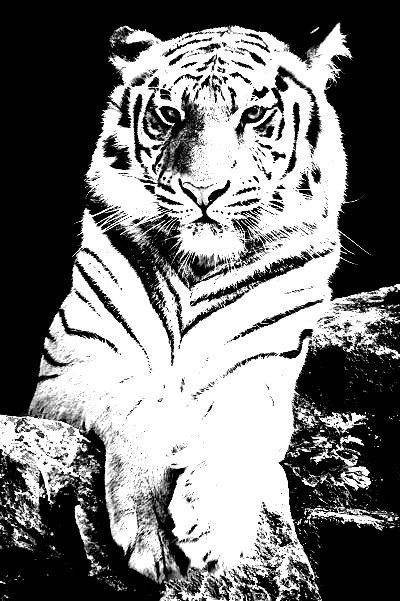
filter=blackwhite
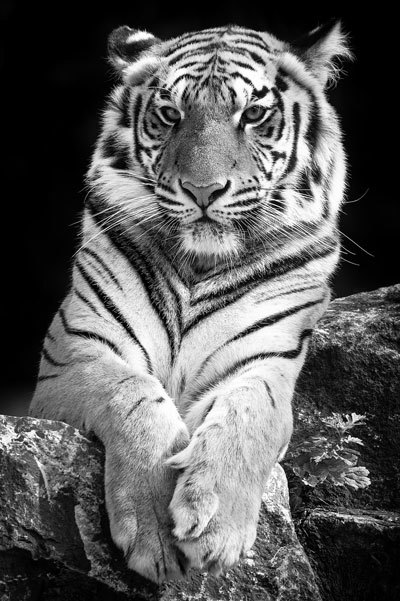
filter=greyscale
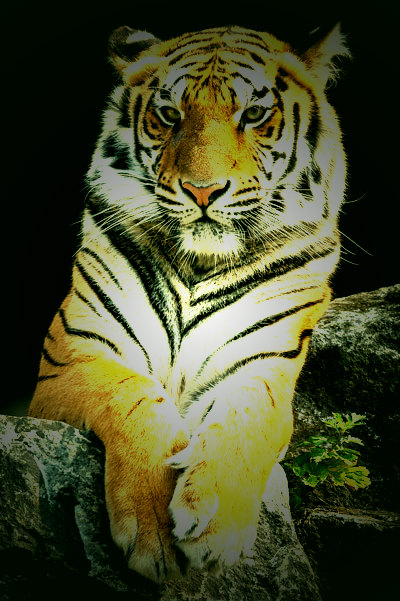
filter=hisatch
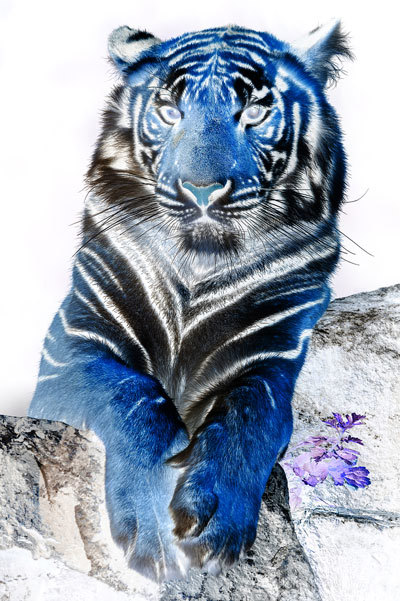
filter=invert
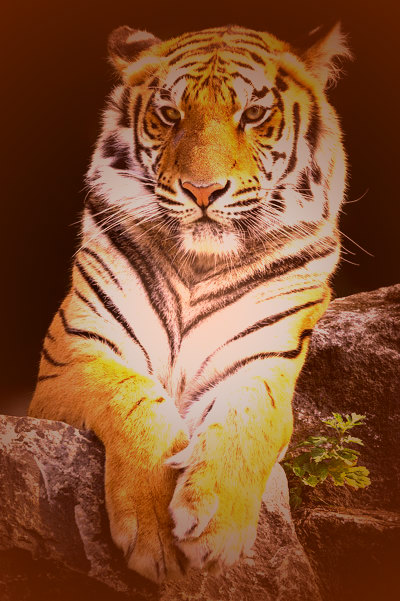
filter=lomograph
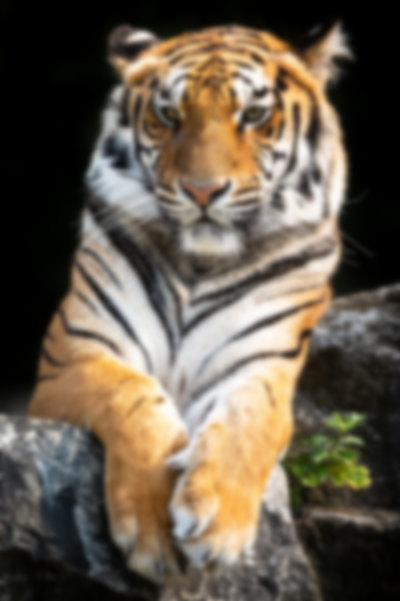
filter=polaroid
filter=sepia
GaussianBlur
Adjusts the blur of the original image based on a given Gaussian Blur kernal value. The kernal value can range anywhere from 1 to 10000.
<img src="/your-image.jpg?blur=[KERNAL]">
<img src="/your-image.jpg?blur=25">
Samples
blur=25
Formats
Format
Converts the original image to the specified file type.
Supported file types are:
jpgjpegbmpgifpngpng8tiftiff
<img src="/your-image.jpg?format=[FILE TYPE]">
<!--GIF Format-->
<img src="/your-image.jpg?format=gif">
Samples

format=gif
Quality
Resamples the original image to the specified percentage quality.
This method will only effect the output quality of images that allow lossy processing. So essentially JPG images - currently, WEBP images are not able to be processed with the ImageProcessor methods.
<img src="/your-image.jpg?quality=[PERCENTAGE]">
<!--25% Quality-->
<img src="/your-image.jpg?quality=25">
Samples

quality=25
Related Articles
- Site Settings & Management
Site Globals
Site Globals, under ‘Settings’, is where you can set up customised data points for your... - Content Modules
Pages
Pages allow the creation and management of standard page content and folders. Pages can be arranged within folders, secured from unauthorised access, hidden from either site search or search engines, assigned to templates and given full SEO properties among various other settings. - Content Modules
File Manager
The File Manager provides browserable and functional access to the site’s file storage. You can... - Liquid Components
countries
This component renders a form select element of all country names and country codes by default, and can also be used to output country codes/names to a Liquid collection. - Content Editing
Admin Editor (WYSIWYG/Code View) - Website Templates
*Bikes - Website Templates
*Clothing Store - Website Templates
Coffee - Website Templates
*Coworking - Website Templates
Digital Agency - Website Templates
Furniture - Website Templates
*Hair Salon - Website Templates
Max - Content Editing
On-Site Editor (OSE)
The OSE is an in-context-editor that allows for quick and simple editing and styling of on-page text content directly within the context of the page (while viewing the live website). - Content Editing
On-Site Editor (OSE) PRO
The On-Site Editor allows admin users to manage designated content from the front-end of the website in a more streamlined and intuitive manner.
External Resources
There are currently no external resources available.
Please let us know if you have any other contributions or know of any helpful resources you'd like to see added here.
Questions?
We are always happy to help with any questions you may have.
Visit the Treepl Forum for community support and to search previously asked questions or send us a message at support@treepl.co and we will consult you as soon as possible.